where curiosity meets the charts

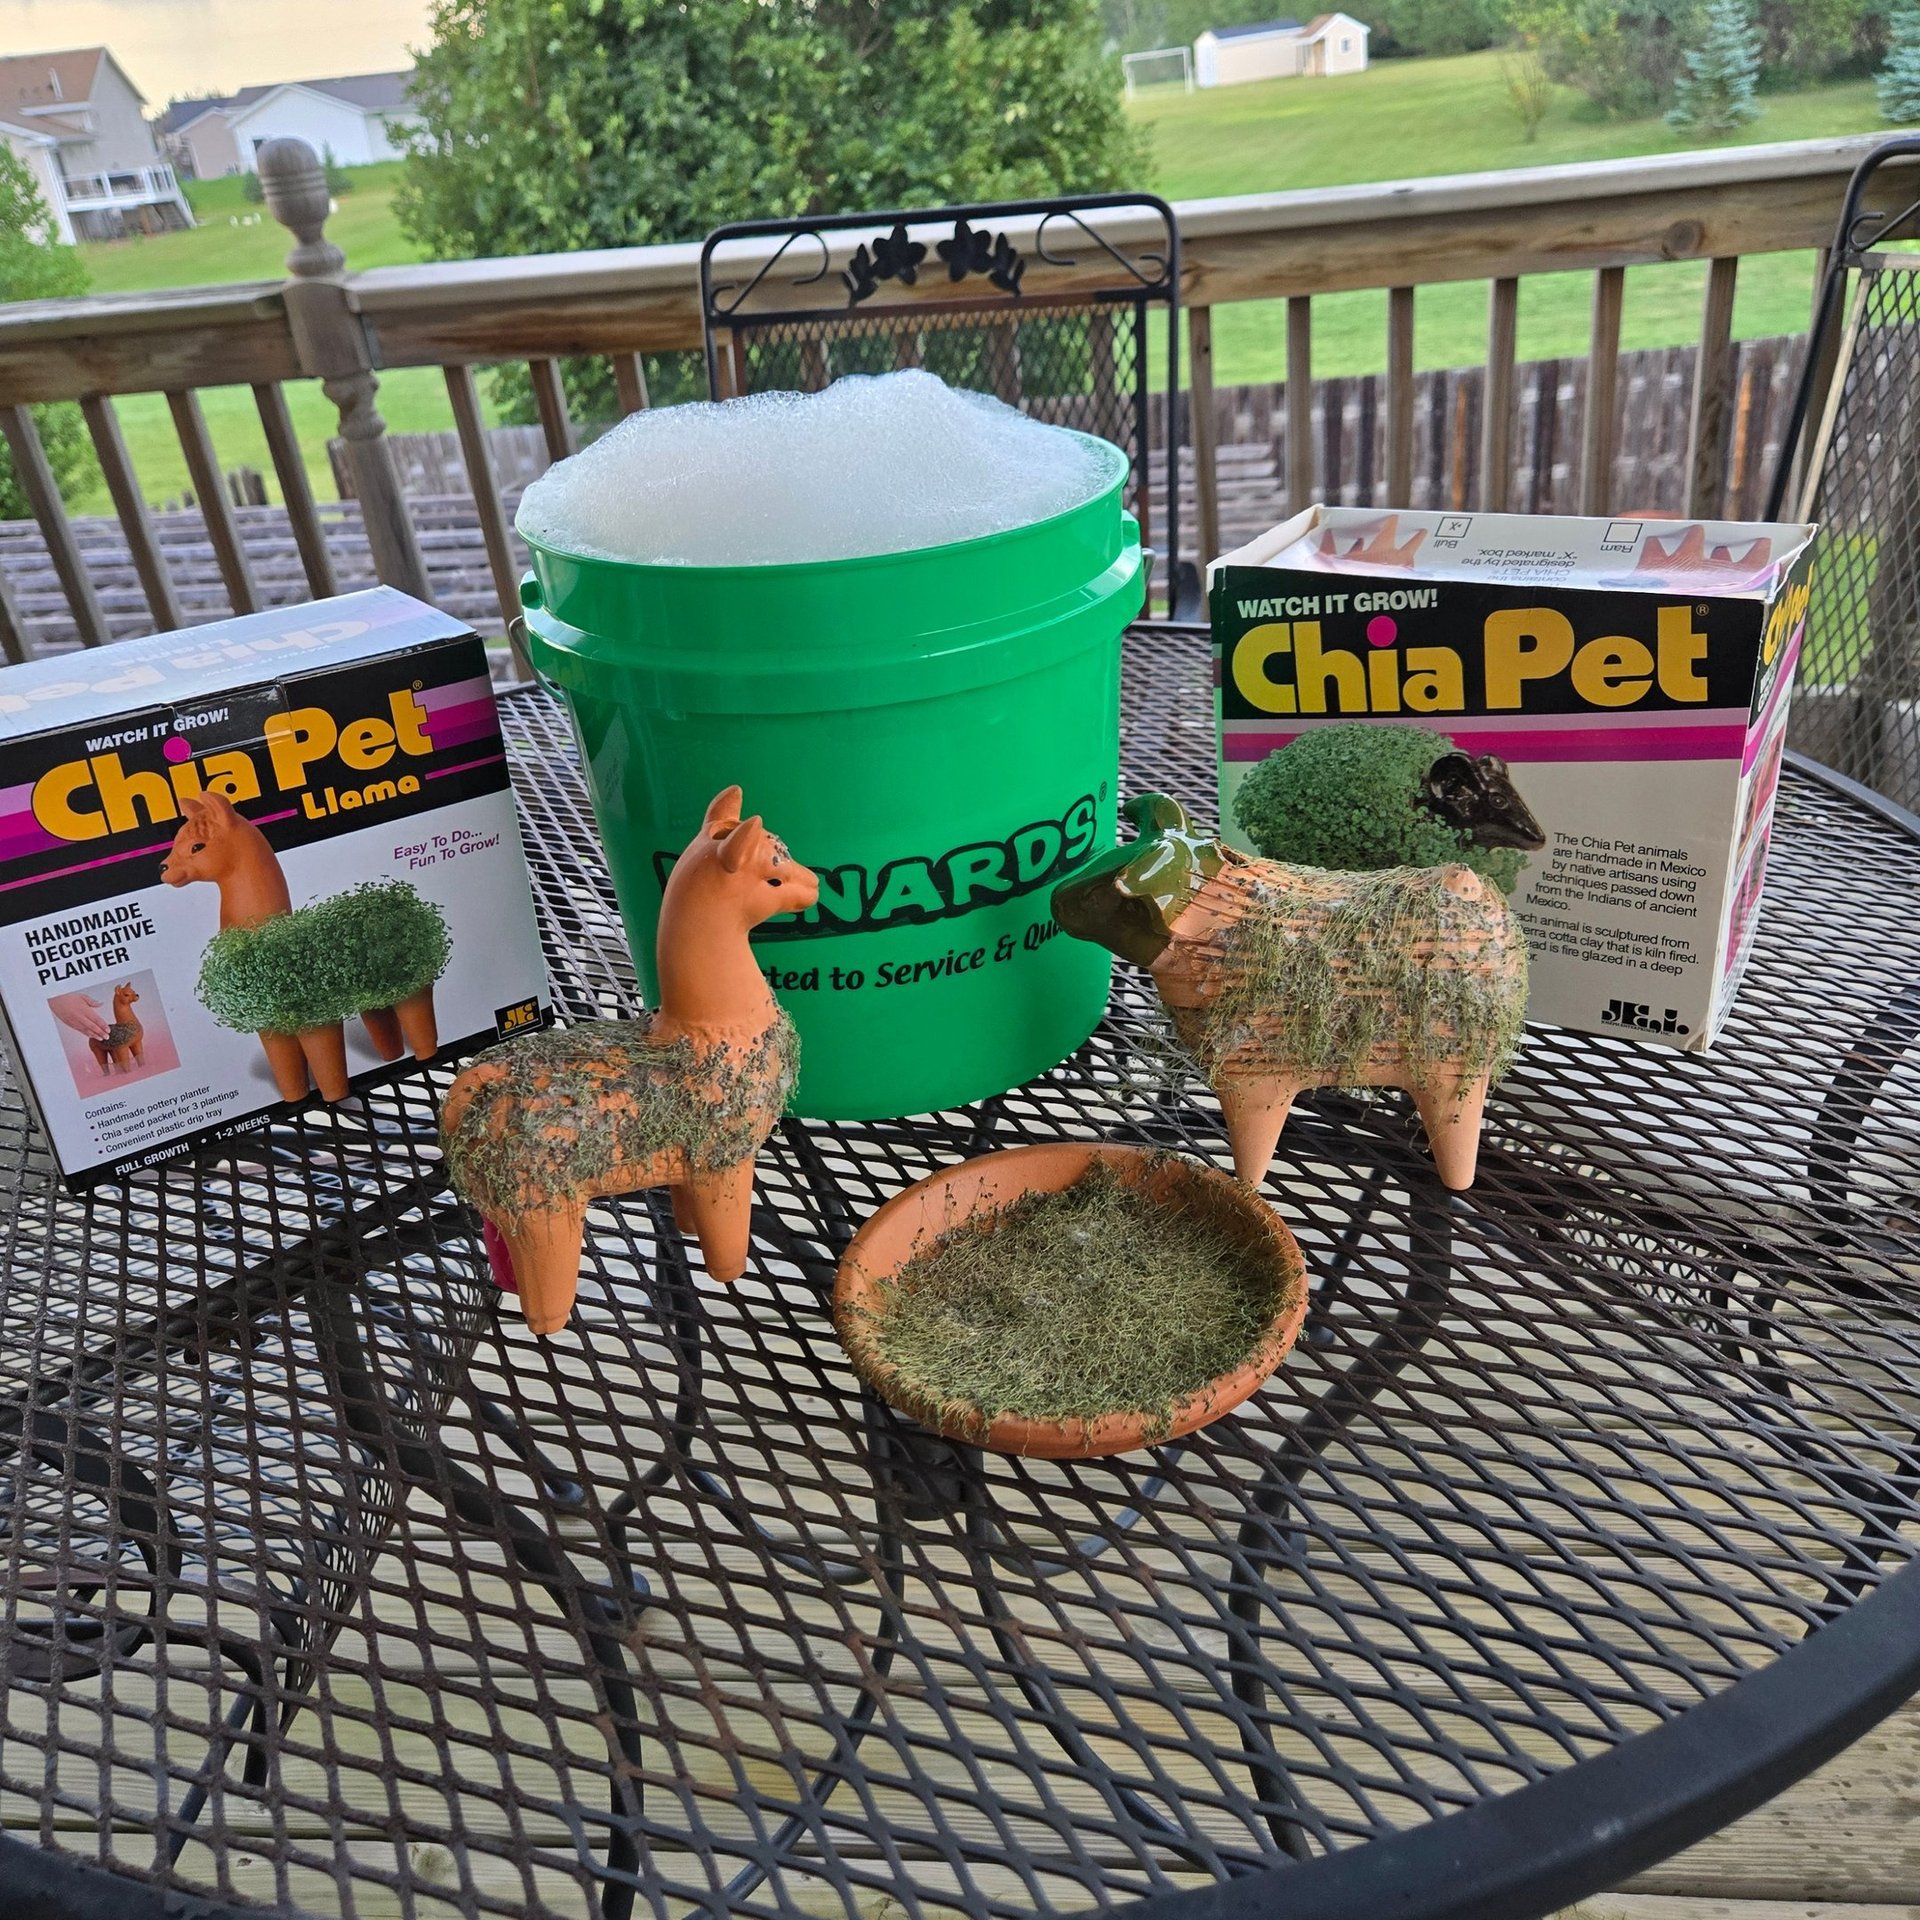
How To Grow A Chia Pet
What started as a quirky experiment with Chia Pets turned into a surprisingly meaningful dive into plant science, creativity, and the joy of growing. In this Chia Coup recap, we share what we learned, what we overthought, and why growing sprouts is actually a big deal. Plus: your step-by-step guide to growing your own. Let’s make small wonders matter.
Solli Frank
8/15/20252 min read

Chia Coup Recap: Why Growing Sprouts Is a Big Deal
Before we dive into new topics, I wanted to take a moment to reflect on what we accomplished in the first Chia Coup series on our YouTube channel @itsabigdeal2025. What started as a playful experiment turned into something surprisingly meaningful.
Yes, we grew sprouts—not just on traditional Chia Pet kits, but on a variety of surfaces. To seasoned Chia growers, that might sound like no big deal. And now that my team and I have done it (and done it well), we can see that perspective. But we’re not ready to fully agree.
Because here’s the thing: it is a big deal.
What we learned through this process were foundational concepts that connect to a massive hobby sector of gardening enjoyed by millions—and to a global, multi-billion-dollar agricultural industry. At the very least, it was fun. At best, it was a hands-on crash course in plant science, patience, and creative problem-solving.
Our Biggest Challenge? Overthinking It.
In our How to Grow a Chia Pet video, we show just how simple it can be. But early on, we made it way more complicated than it needed to be. We filmed over 20 videos documenting every step—from unboxing to running to Menards to prepping surfaces. We even pulled out a microscope to investigate potential mold spores (which, let’s be honest, we weren’t totally sure how to identify).
Turns out, what we thought might be mold was likely mucilage—a thick, sticky, gel-like substance found in plants and microorganisms. It’s made mostly of polysaccharides (a type of carbohydrate made of bonded sugar molecules), along with proteins and lipids. Did I cite that? No. I learned it firsthand through weeks of working with chia seeds. So yes, we got a little science-y. And yes, we had a blast.
We made some chaotic videos. We learned a lot. And most importantly, we had fun doing it. We’re getting better—and we’re just getting started.
This is part of the journey we hope you’ll join us on with Essbie. And now, for those ready to grow their own sprouts, here’s your go-to guide.
Step-by-Step Chia Pet Growing Guide
Step
What to Do
1. Unbox the Chia Pet
Remove the terracotta figure, seeds, drip tray, and instructions.
2. Soak the Chia Pet
Submerge the figure in water for 30 minutes to 24 hours to saturate the clay. This helps the seeds stick.
3. Prepare the Seeds
Mix 2 tsp of chia seeds with 2 tbsp of water. Let sit for 15–30 minutes until it forms a gel-like paste.
4. Apply the Seeds
Spread the seed paste evenly over the grooves using fingers or a small utensil. Avoid clumping and keep seeds away from the fill hole.
5. Let Seeds Set
Wait 1–2 days before watering to allow seeds to adhere and begin sprouting.
6. Water the Chia Pet
Fill through the top hole with water. Place on the drip tray in a sunny spot.
7. Daily Care
Check water levels and refill as needed. Rotate weekly for even growth. Mist lightly if the air is dry.
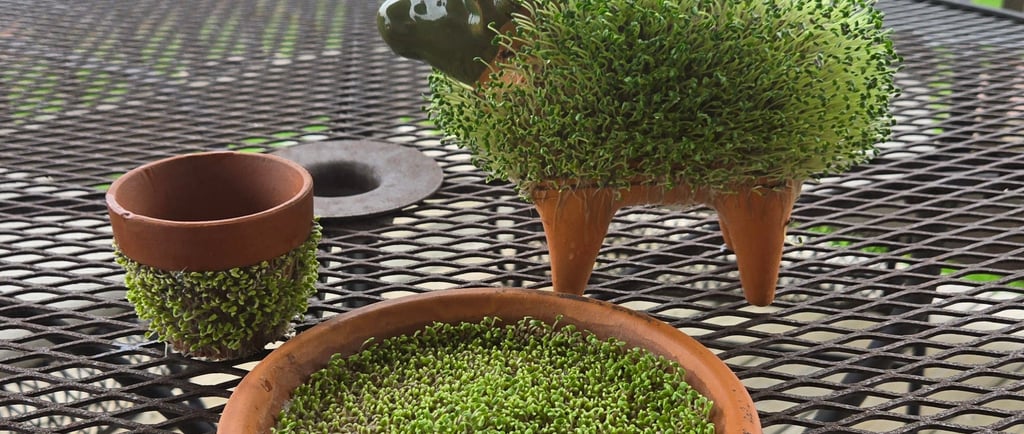
8. Watch It Grow!
Enjoy the process and celebrate your sprouts.
If you’re curious, skeptical, or just looking for a quirky project with unexpected depth—this is your invitation. Follow along, experiment with us, and let’s keep making big deals out of small wonders.
Follow along:
🎥 Subscribe to our YouTube channel itsabigdeal2025
🌐 Explore more at essbiefrank.com
📸 Follow us on Instagram, TikTok, and wherever conversations are happening